 Travel Guide Travel Guide to the countries of the world

This post is also available in:
![]() Deutsch
Deutsch
During trips, especially those who have in their itinerary places with dark skies and far from cities, I usually bring with me even a minimum of photographic and visual equipment to observe the night sky and photographing the night sky while traveling. Observing the sky from every corner of the Earth always reserves wonderful surprises.
To observe the stars the most important thing is the absence of lights. Even if you only make a short stay in the mountains you will see the impressive difference between the sky that you are used to seeing in the city and inhabited places, and the dark and clear mountain sky. If you are lucky enough to take an air trip that will take you to places near or below the equator you can see a completely different sky from that of the northern hemisphere.
OBSERVE THE NIGHT SKY FROM REALLY DARK SKIES
Do you think you are in one of the Australian desert areas (but also Atacama Desert in Chile, Namibia etc.) and are lucky enough to admire the southern sky in one of the darkest places on the planet, where the nearest inhabited center is 600 km away as the crow flies. Even if you are not a fan of astronomy you will live an experience that you will never forget in life: Depending on the period in which you make the trip (and at the time you observe) you will have the opportunity to admire the center of our galaxy, the Milky Way, in the constellation of Sagittarius in its maximum splendor and the stars of the galactic center will appear like spectacular clouds. You will see the Southern Cross, the wonderful Magellanic clouds, two satellite galaxies of our galaxy, and other spectacular celestial objects.
GREAT INSTRUMENTS ARE NOT NECESSARY
The naked eye is enough to observe the starry sky. Choose a moonless night, the period close to the New Moon is the best. So if you plan a trip, make sure that this period falls when you are in a dark place and far from the cities. Place yourself in a dark area where you can admire a large slice of the sky and adapt your eye to the darkness for a few minutes. As your eye adapts to the dark you will see more and more stars appear in the sky. In the area of the galactic center our galaxy, the Milky Way, will look like a spectacular milky white cloud. You can spend hours observing the starry sky with the naked eye and if you are lucky you can also see shooting stars that cross the sky in a split second.
A GOOD BINOCULAR MAY BE THE IDEAL
However, you will almost certainly want to try to push yourself further into the vision of the night sky. To do this you will need to bring a minimum of equipment. We are talking about trips for which it is always important to travel light. My advice is to buy a good wide field binoculars (a 10 x 50 or a 15 x 70) an instrument that allows you to observe hundreds of celestial objects and which usually weighs just over 1 kg.
Binoculars are excellent tools to take on the road, easy to use, and can be used both during the day to observe animals and the landscape and at night to observe the stars. If you opt for 15 x 70 binoculars, I also recommend the attachment for the photographic tripod that will make the images stable and allow you to better observe the celestial objects without straining your arms.
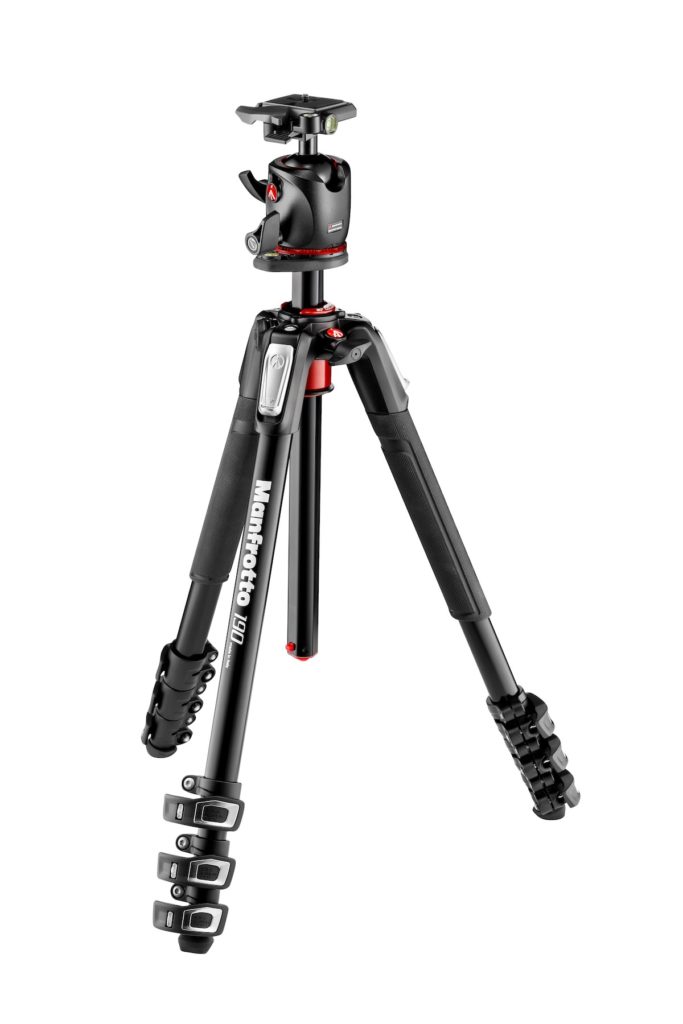
TO TAKE NIGHT PHOTOS YOU HAVE TO GET A GOOD REFLEX AND A STABLE TRIPOD
If, on the other hand, you want to photograph the night sky while traveling, you must have a camera that allows you to adjust the shutter speed. In fact, I usually carry a digital SLR camera and a good tripod (like Manfrotto) with me. The tripod must be very stable if you intend to photograph the stars because otherwise a small gust of wind will suffice to make the photograph move.
If you use the machine stationary on the stand it is necessary to use very bright lenses to collect as much light as possible from the stars in the shortest possible time. Wide-angle lenses are the best lenses because they allow you to make longer poses without noticing the blur caused by the earth’s rotation. In my case I use a Tokina 11-20 mm F 2.8 which has an excellent brightness and which allows using 11 mm poses between 20 and 30 seconds with the stand still without having too appreciable moves.
If you use the machine on a tripod, you need to use very bright lenses to collect as much light as possible from the stars in the shortest possible time. Wide-angle lenses are the best lenses because they allow you to make longer poses without noticing the blur caused by the earth’s rotation. In my case I use a Tokina 11-20 mm F 2.8 which has an excellent brightness and which allows using 11 mm poses between 20 and 30 seconds with stationary tripod without having moved too appreciable.
TAKE THE PHOTOS IN RAW
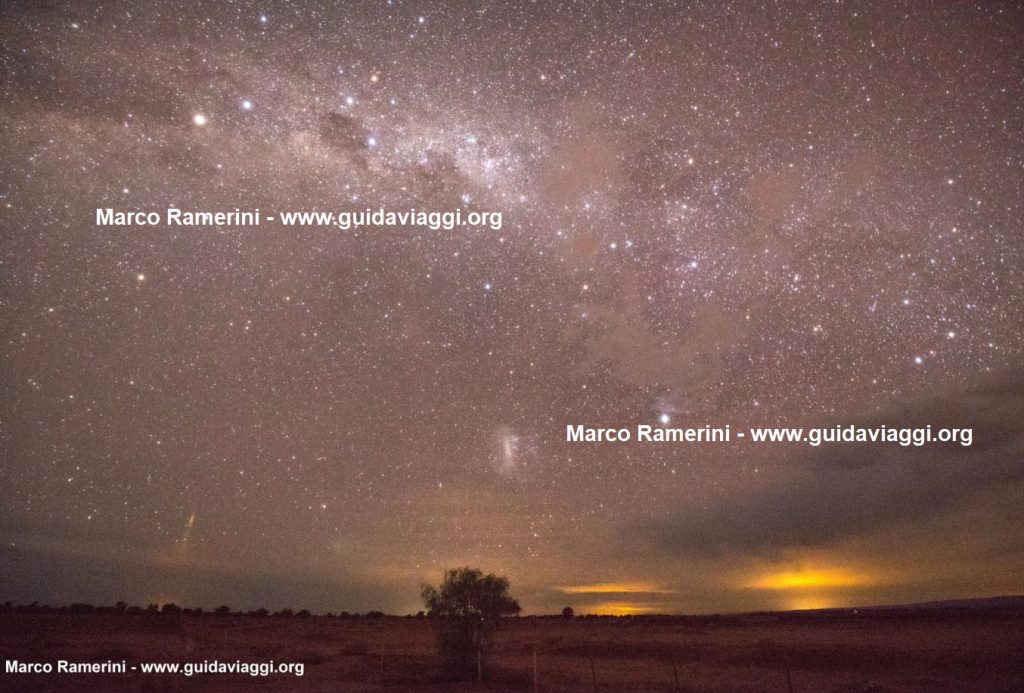
With such equipment, if you are in a very dark place, you can take very beautiful photos of the Milky Way. Like those below and those of the video above, made with the equipment described above. Through special programs you can also combine multiple photos of the same section of sky and make a so-called starstrail, that is, a photo with traces of the movement of the stars. Or you can add multiple photos of the same portion of the sky and increase the amount of stars in your photograph. Another trick if you take night photos of the stars, always take your photo in RAW format, this format will allow you to process the image with photoshop or other programs in order to bring out the best in your shot.
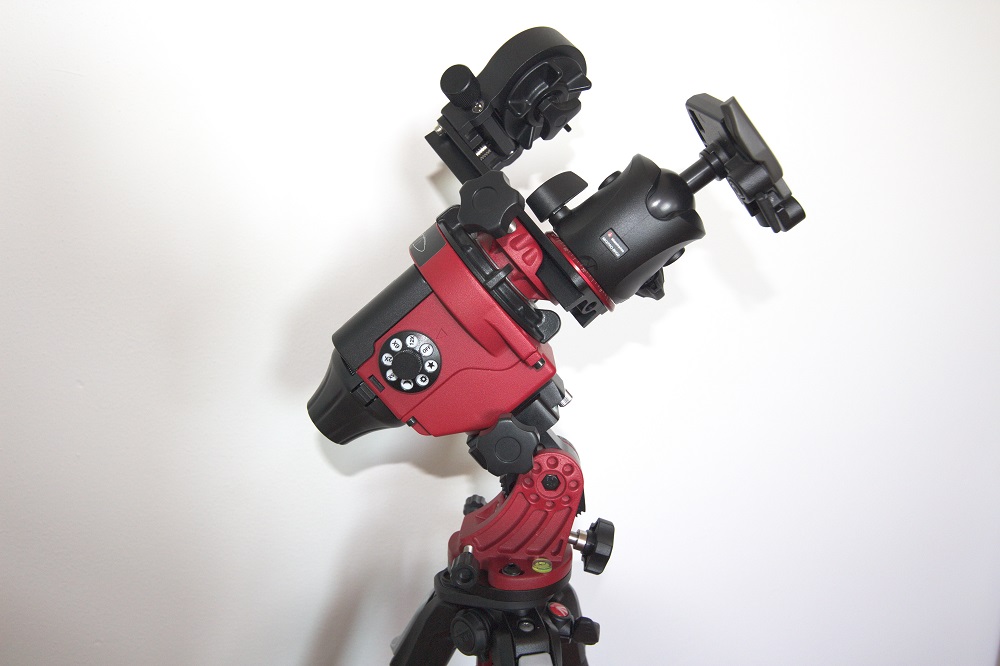
TO EXTEND THE LAYING TIMES OF THE PHOTOS YOU ALSO NEED AN ASTRO TRACKER
If you want to go further in photographing the night sky while traveling, you will need a star tracker that compensates for land motion. Fortunately today there are several very transportable and low weight models (usually around 2 kg). Among the best known are the Vixen Polarie, the SkyTracker and the Star Adventurer Skywatcher. With the use of these tools you can make photographic poses of a few minutes obtaining point stars and spectacular images. In this case you can also use more photographic lenses like a 50 mm and beyond. Then, based on the accuracy of the star tracker and to the precision of pointing towards the celestial pole, you can also have excellent results using telephoto lenses up to 300 mm.
If you want to do night time lapse instead, you can use your reflex. I generally use the shutter speed of 10 or 20 seconds. Consider that with 30 second poses at 24 fps you will have to expose for 2 hours to get a 10 second movie. If the exposure is 20 seconds it will take 1 hour and 20 minutes of shooting to obtain a 10 second movie.
SUMMARY OF THE EQUIPMENT TO BRING
Accessories for night observations:
Large field binoculars (a 10 x 50 or a 15 x 70).
Night photo accessories:
Reflex camera (with various bright lenses).
Tripod (Manfrotto type).
If you want to go further:
Star tracker.
This post is also available in:
![]() Deutsch
Deutsch


